Building a photobooth in Python
Sat 06 August 2016
The Recurse Center is 5 years old! Faculty threw a small party in the RC space to celebrate the occasion, with current batch members and alumns welcome. Me and Philipp (@philj0st) marked the occasion by building a photobooth. Guests could use it to snap pics which then got posted to our internal chat system:

This is the story of how we built it in one afternoon right before the party.
12:00
After learning of the existence of a photobooth at a previous Recurse Center event, and finding a spare HD camera in the building earlier this week, Philip and I agreed to meet today and try to recreate the experience. Only problem: the party is in a few hours, so we have to move quick. We are drafting a plan to make it happen whilst having lunch at a French restaurant with other Recursers.
13:30
First things first, materials! We head over to Tinkersphere. On our way there, Philipp gets stomach sick. It's probably the mussels. Sorry Philipp! (you should totally try some on your road trip in France though). Here's the list of supplies we have/need:
- A raspberry pi, to power the photobooth ✓ (we have tons of them lingering at the Recurse Center)
- A HD webcam, to take the pictures ✓ (we found one we can use already)
- A wifi module or dongle, to connect the pi to the internets ✗
- A prop, device or button to act as a trigger for the photo ✗
We leave the store with a Raspberry Pi 3 (because it comes with a wifi module builtin, and I figure it's only 20 dollars more expensive than a wifi dongle), an SD card, and a pink arcade button to act as our trigger.
14:00
On our way back to the Recurse Center, Philipp realises that his old laptop is still lingering there unused. It's still functional, except for the battery, which shouldn't be too much of an issue. Using the laptop to power the photobooth will be much faster as it's already set up. We realise there is soon to be a new Raspberry Pi sitting idle in the space for nothing!
We reach the space and find the computer. There's only one problem: it's a Swiss laptop. We end up spending the next 20 minutes frantically searching for a Swiss-to-US power converter. Meanwhile, I install NOOBS on the SD card just in case we need to use the Raspberry Pi after all.
14:20
I inform Rachel, Recurse Center's operations manager, of our evil plans. We get the get go to use the cloak room for our photobooth install, and Rachel helps me by trying to dig the code for the old photobooth that we talked about earlier this week.
14:30
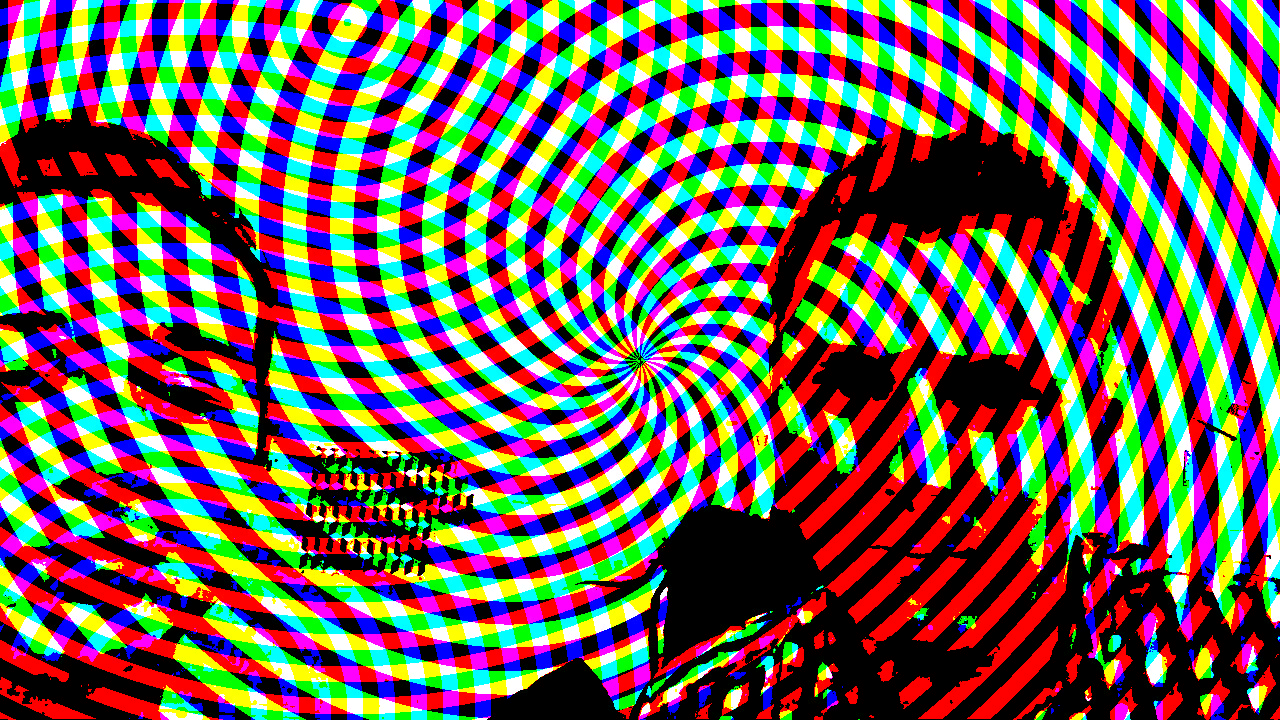
Philipp sets up the laptop and the webcam, and installs and tests Cheese, a Gnome application to take webcam pictures. We have fun trying out a bunch of the built-in funky effects and make funny faces in front of the webcam:
Meanwhile, Rachel finds the code for the old photobooth, but it's in Go (which I'm wildly unfamiliar with) and there seems to be a fair amount of hardcoded things which are going to make it tricky to adapt without a good grasp of the code.
I decide to start working on Plan B. We use Zulip as our internal chat system, and I've been contributing to a Zulip bot called RSVPBot recently. I copy the code from RSVPBot and tear it to shreads, only keeping the bits related to message sending. The plan in its current form is as follows:
- wire and solder the arcade button we bought to an Nintendo 64 controller we found, plugged to the laptop via USB,
- remap the Cheese controls so that the button triggers a picture,
- have our new Zulip bot use inotify to watch the Cheese folder for new pictures, and post a message to a dedicated stream with the new picture enclosed.
15:00
I successfully send a "Hello, world" message from the photobooth Zulip bot! It doesn't contain anything interesting yet though, so I start working on having it upload and send an enclosed picture.
Philipp sets up QJoyPad to remap one of the buttons of the N64 controller so that it triggers Cheese.
15:30
Time to solder! Philipp gets to work unscrewing the N64 controller to get access to the internal wiring. He then cuts the wire of the L trigger button and solders new extension wires to it. He then solders those wires to the pink arcade button. Success! With QJoyPad running, we are now able to trigger Cheese to take a picture by pushing on the button.
Meanwhile, I'm struggling to find any documentation on how to upload pictures using the Zulip API. Some people on the chat tell me they tried to use file upload before but unsuccessfully as no API endpoint exists. However after chatting with some Zulip devs it turns out that an upload REST API endpoint was added just 2 weeks ago, but hasn't been documented yet! There are no Python bindings for the API endpoint, but using something like requests, with a multipart upload, should work just fine. The gods are with us!
16:00
Well... not so fast. I find out the hard way that the update introducing the new upload API endpoint hasn't been
deployed to the official zulip server yet. No picture upload for us! We'll have to find another way, and quick.
We decide to use Python's built-in SimpleHTTPServer to serve the pictures directly from the laptop, because why
not? An unfortunate consequence is that pictures will be visible only to people connected to the Recurse Center's
internal wifi network. Unfortunately, community members who aren't at the party won't be able to see the pictures
posted to the chat.
16:30
I install pyinotify and update the bot so that it watches for files being written in the Cheese pictures folder. The code looks pretty straightforward:
    def process_IN_CLOSE_WRITE(self, event):
        _, filename = os.path.split(event.pathname)
        msg = "[A picture was taken in the photobooth!](%s)" % url(filename)
        self.client.send_message({
            "type": 'stream',
            "subject": "booth",
            "to": "test-bot",
            "content": msg,
        })
17:00
Now that I have a working version of the Zulip bot, we deploy it on the laptop we will use for the photobooth, and test everything together for the first time. Testing goes fairly well once we remove all the hardcoded stuff we forgot in our haste. Fixing all the last bugs proves especially funny, with having to use a swiss keyboard layout on the laptop.
17:30
We take a one hour break to watch the traditional Thursday presentations. On Thursday, Recursers have 5 minutes slots to give lightning talks to present what they've been working on for the week. It's one of the best moments of the week and we wouldn't want to miss that!
18:30
Philip is not satisfied with the way we serve pictures, and thinks we can do better by having a web gallery where
people can see all the pictures that have been taken in the photobooth. He sets up Apache
and UberGallery, and configures Cheese to save pictures in /var/www/ so that they are
server by UberGallery.
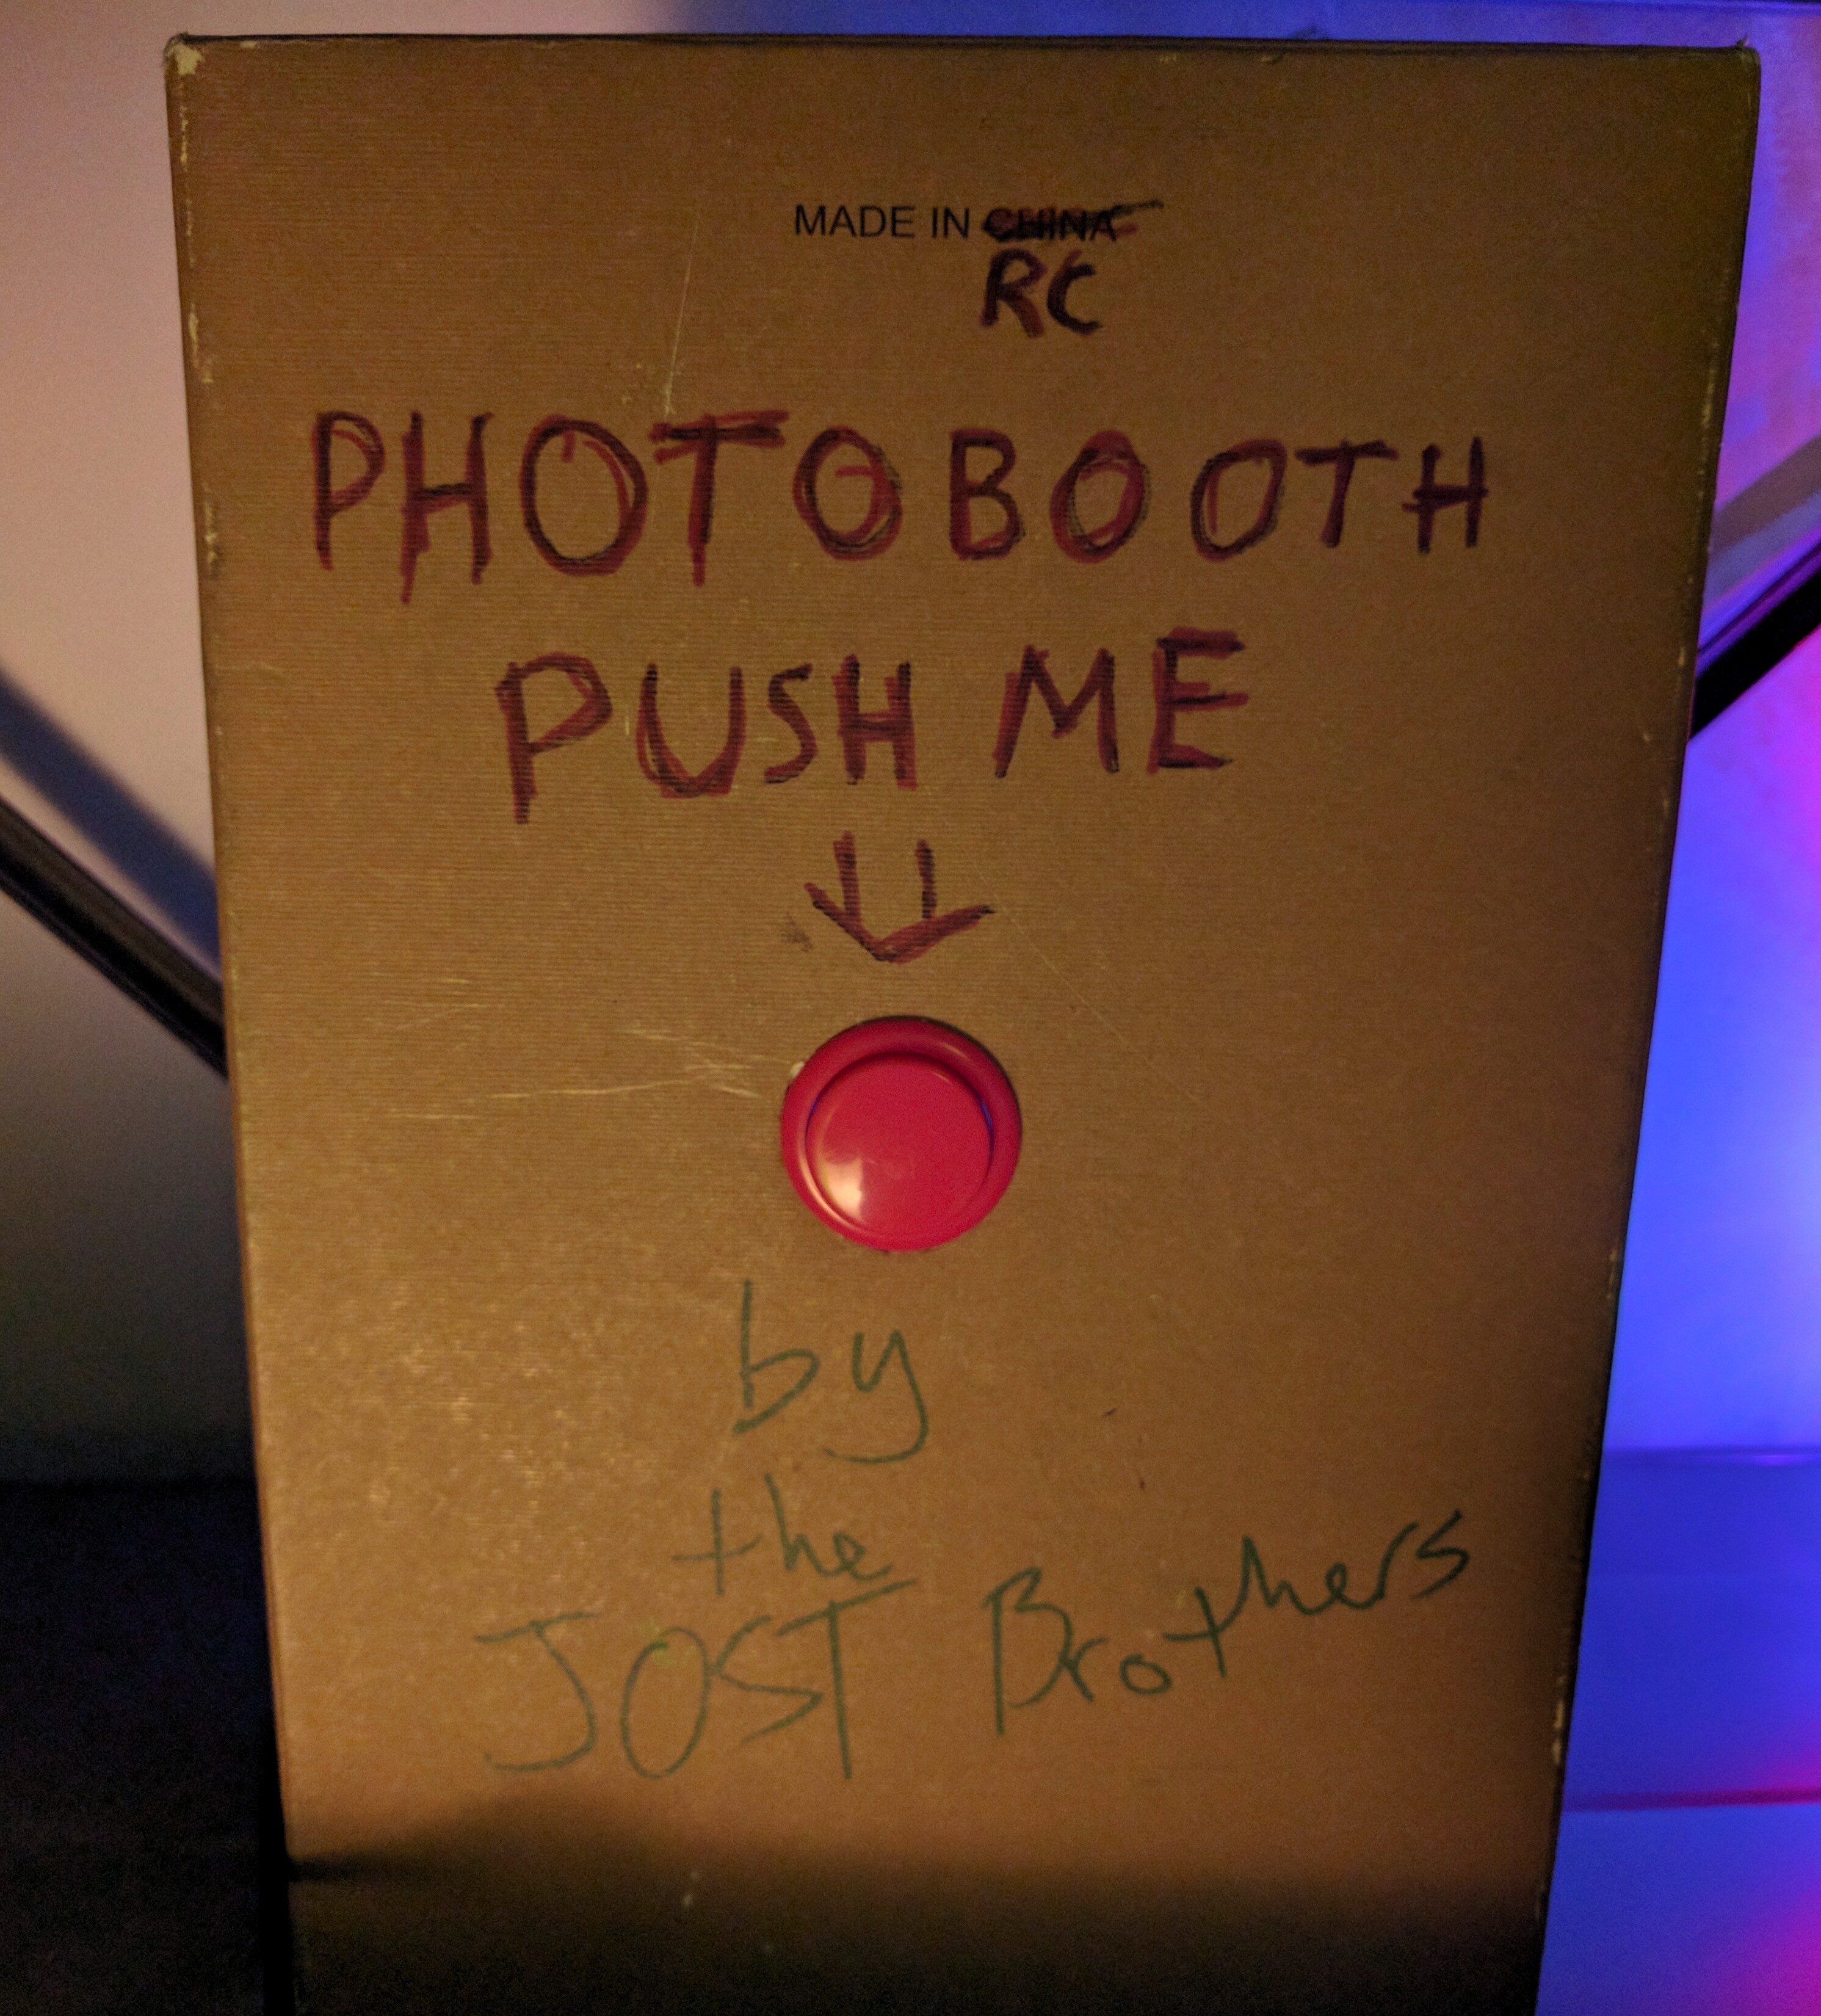
Meanwhile, I roam the space to find some cardboard we can use as the dashboard for our photobooth. I find a shoebox that makes the trick and cut a hole the size of the arcade button using a utility knife. There's only one problem: we have to undo the soldering to be able to fit the button in. Re-soldering everything inside the shoebox turns out to be a lot more finicky, but Philipp manages. We wait for the solder to cool, then test everything again. Still works! The dashboard ends up looking like this:
Here's what it looks like inside, where you can see the N64 controller:
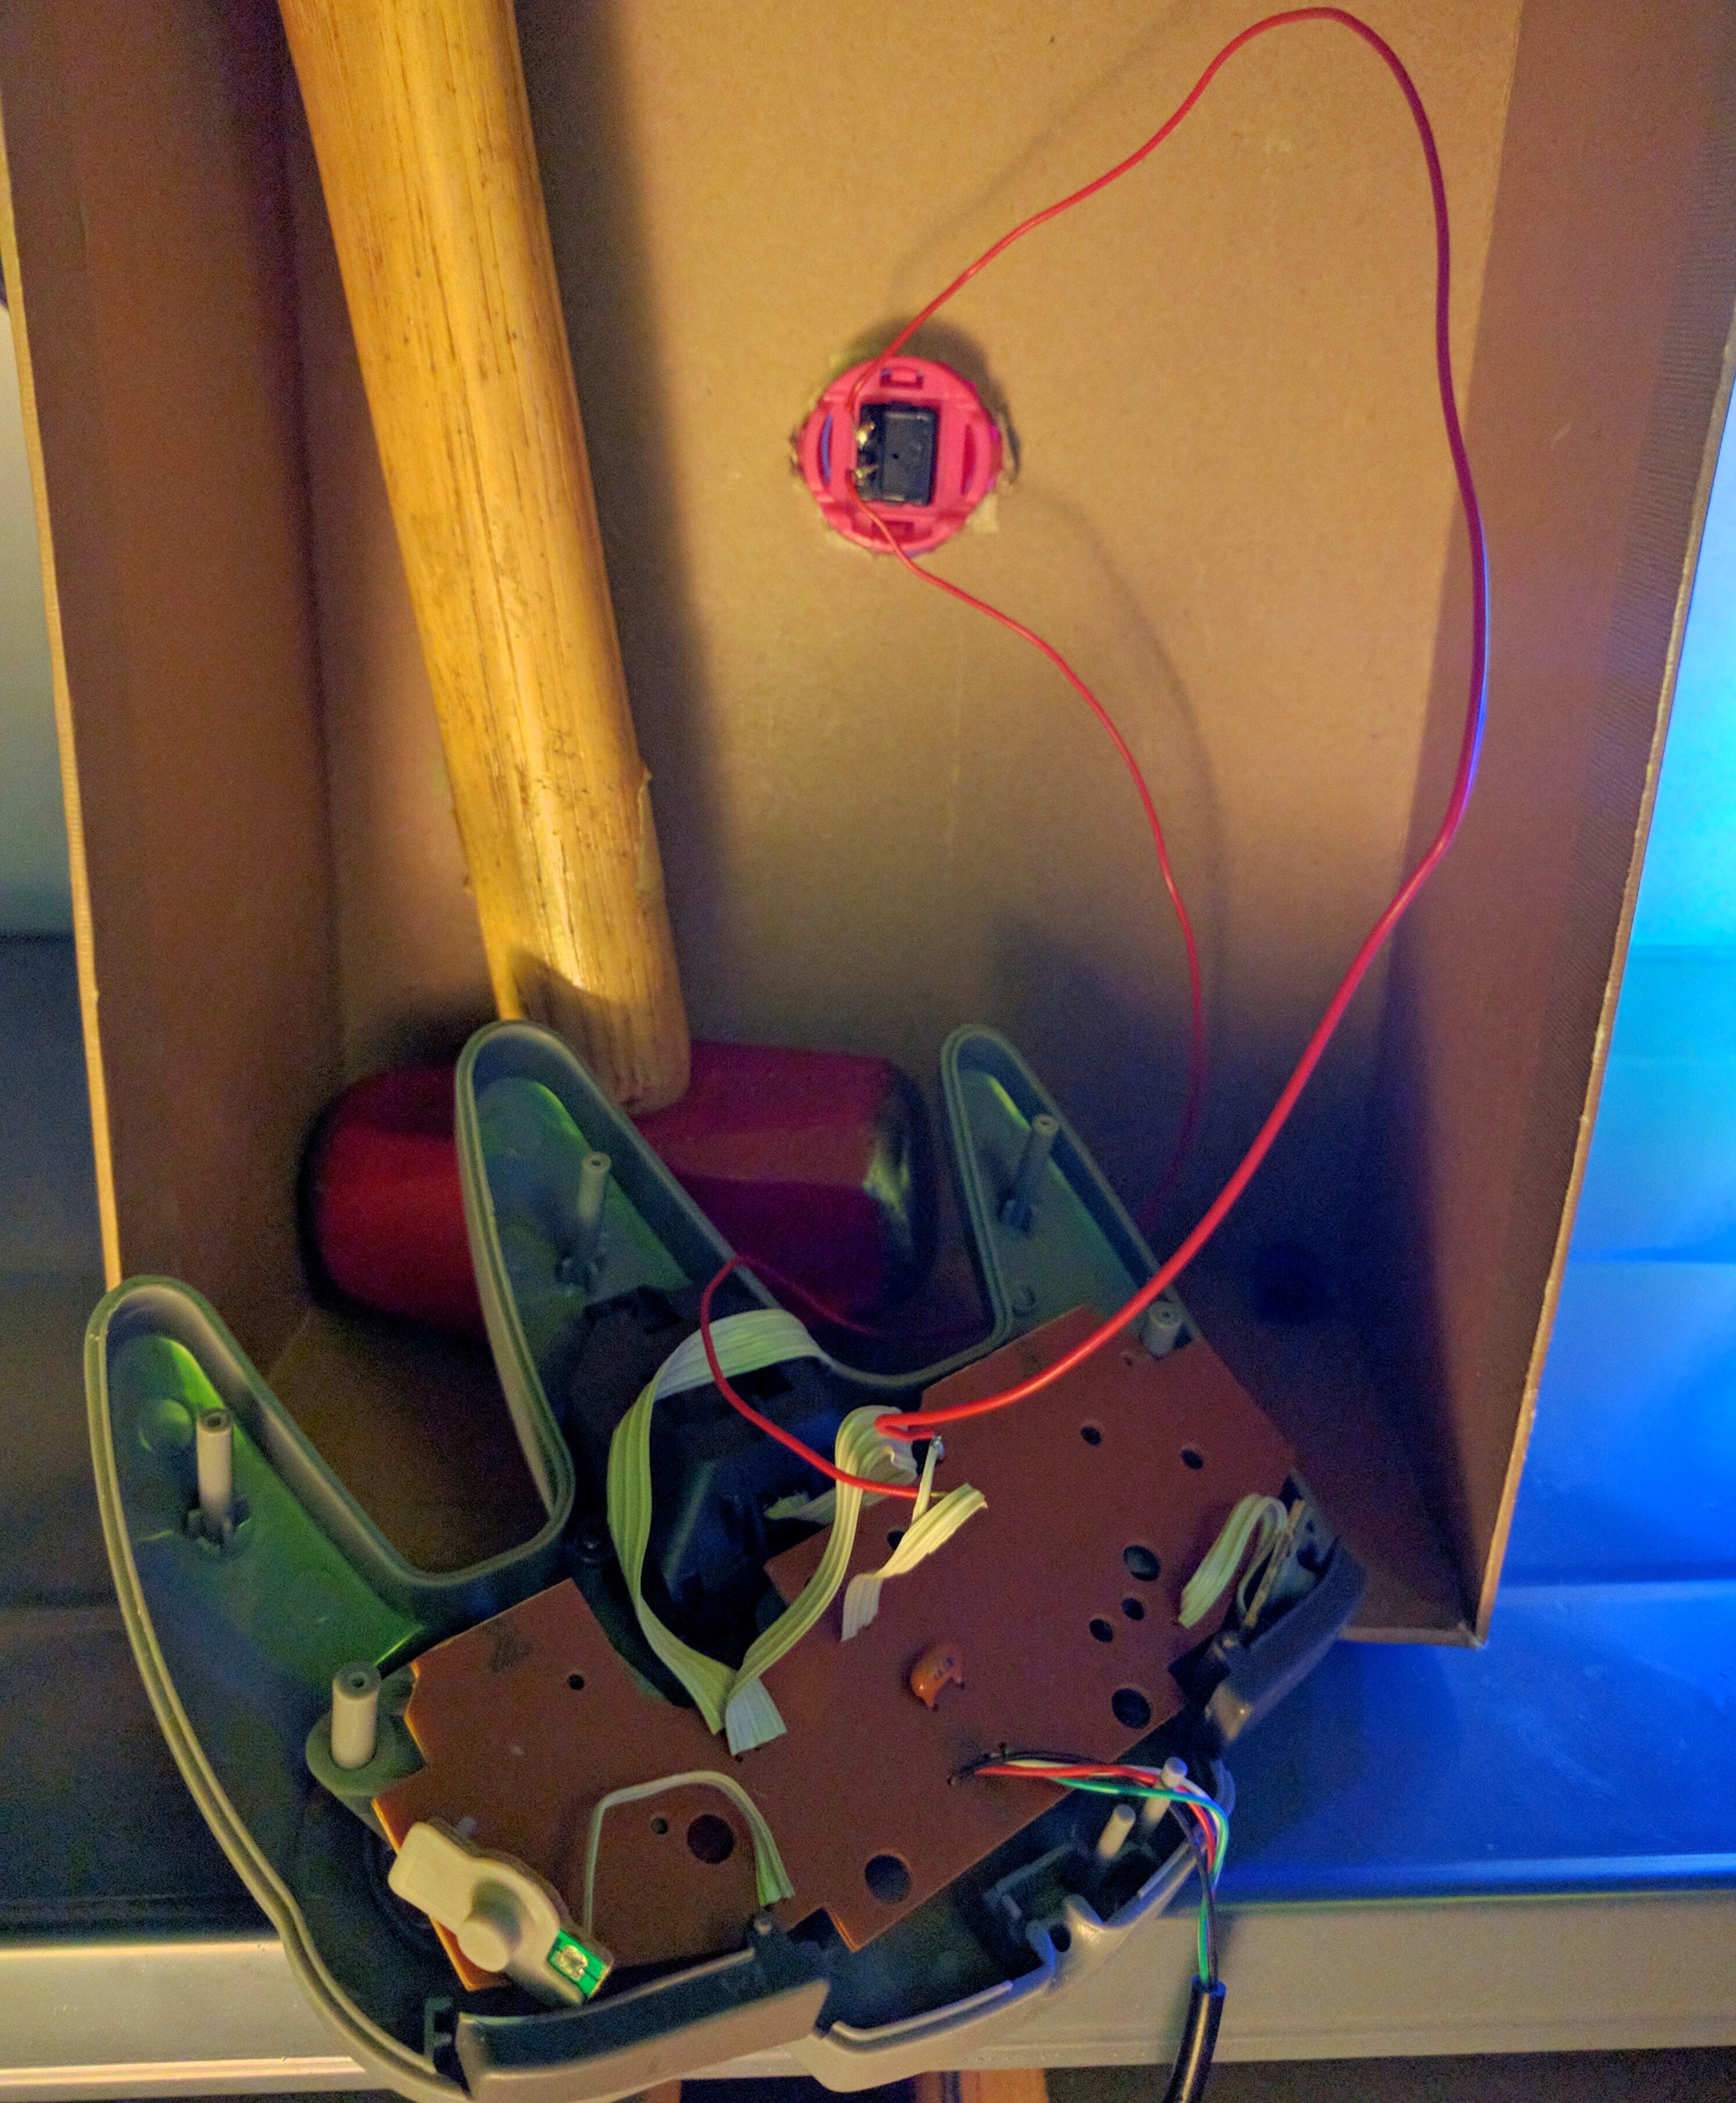
(Yes, we are using a hammer as a weight to stabilise the ensemble)
19:00
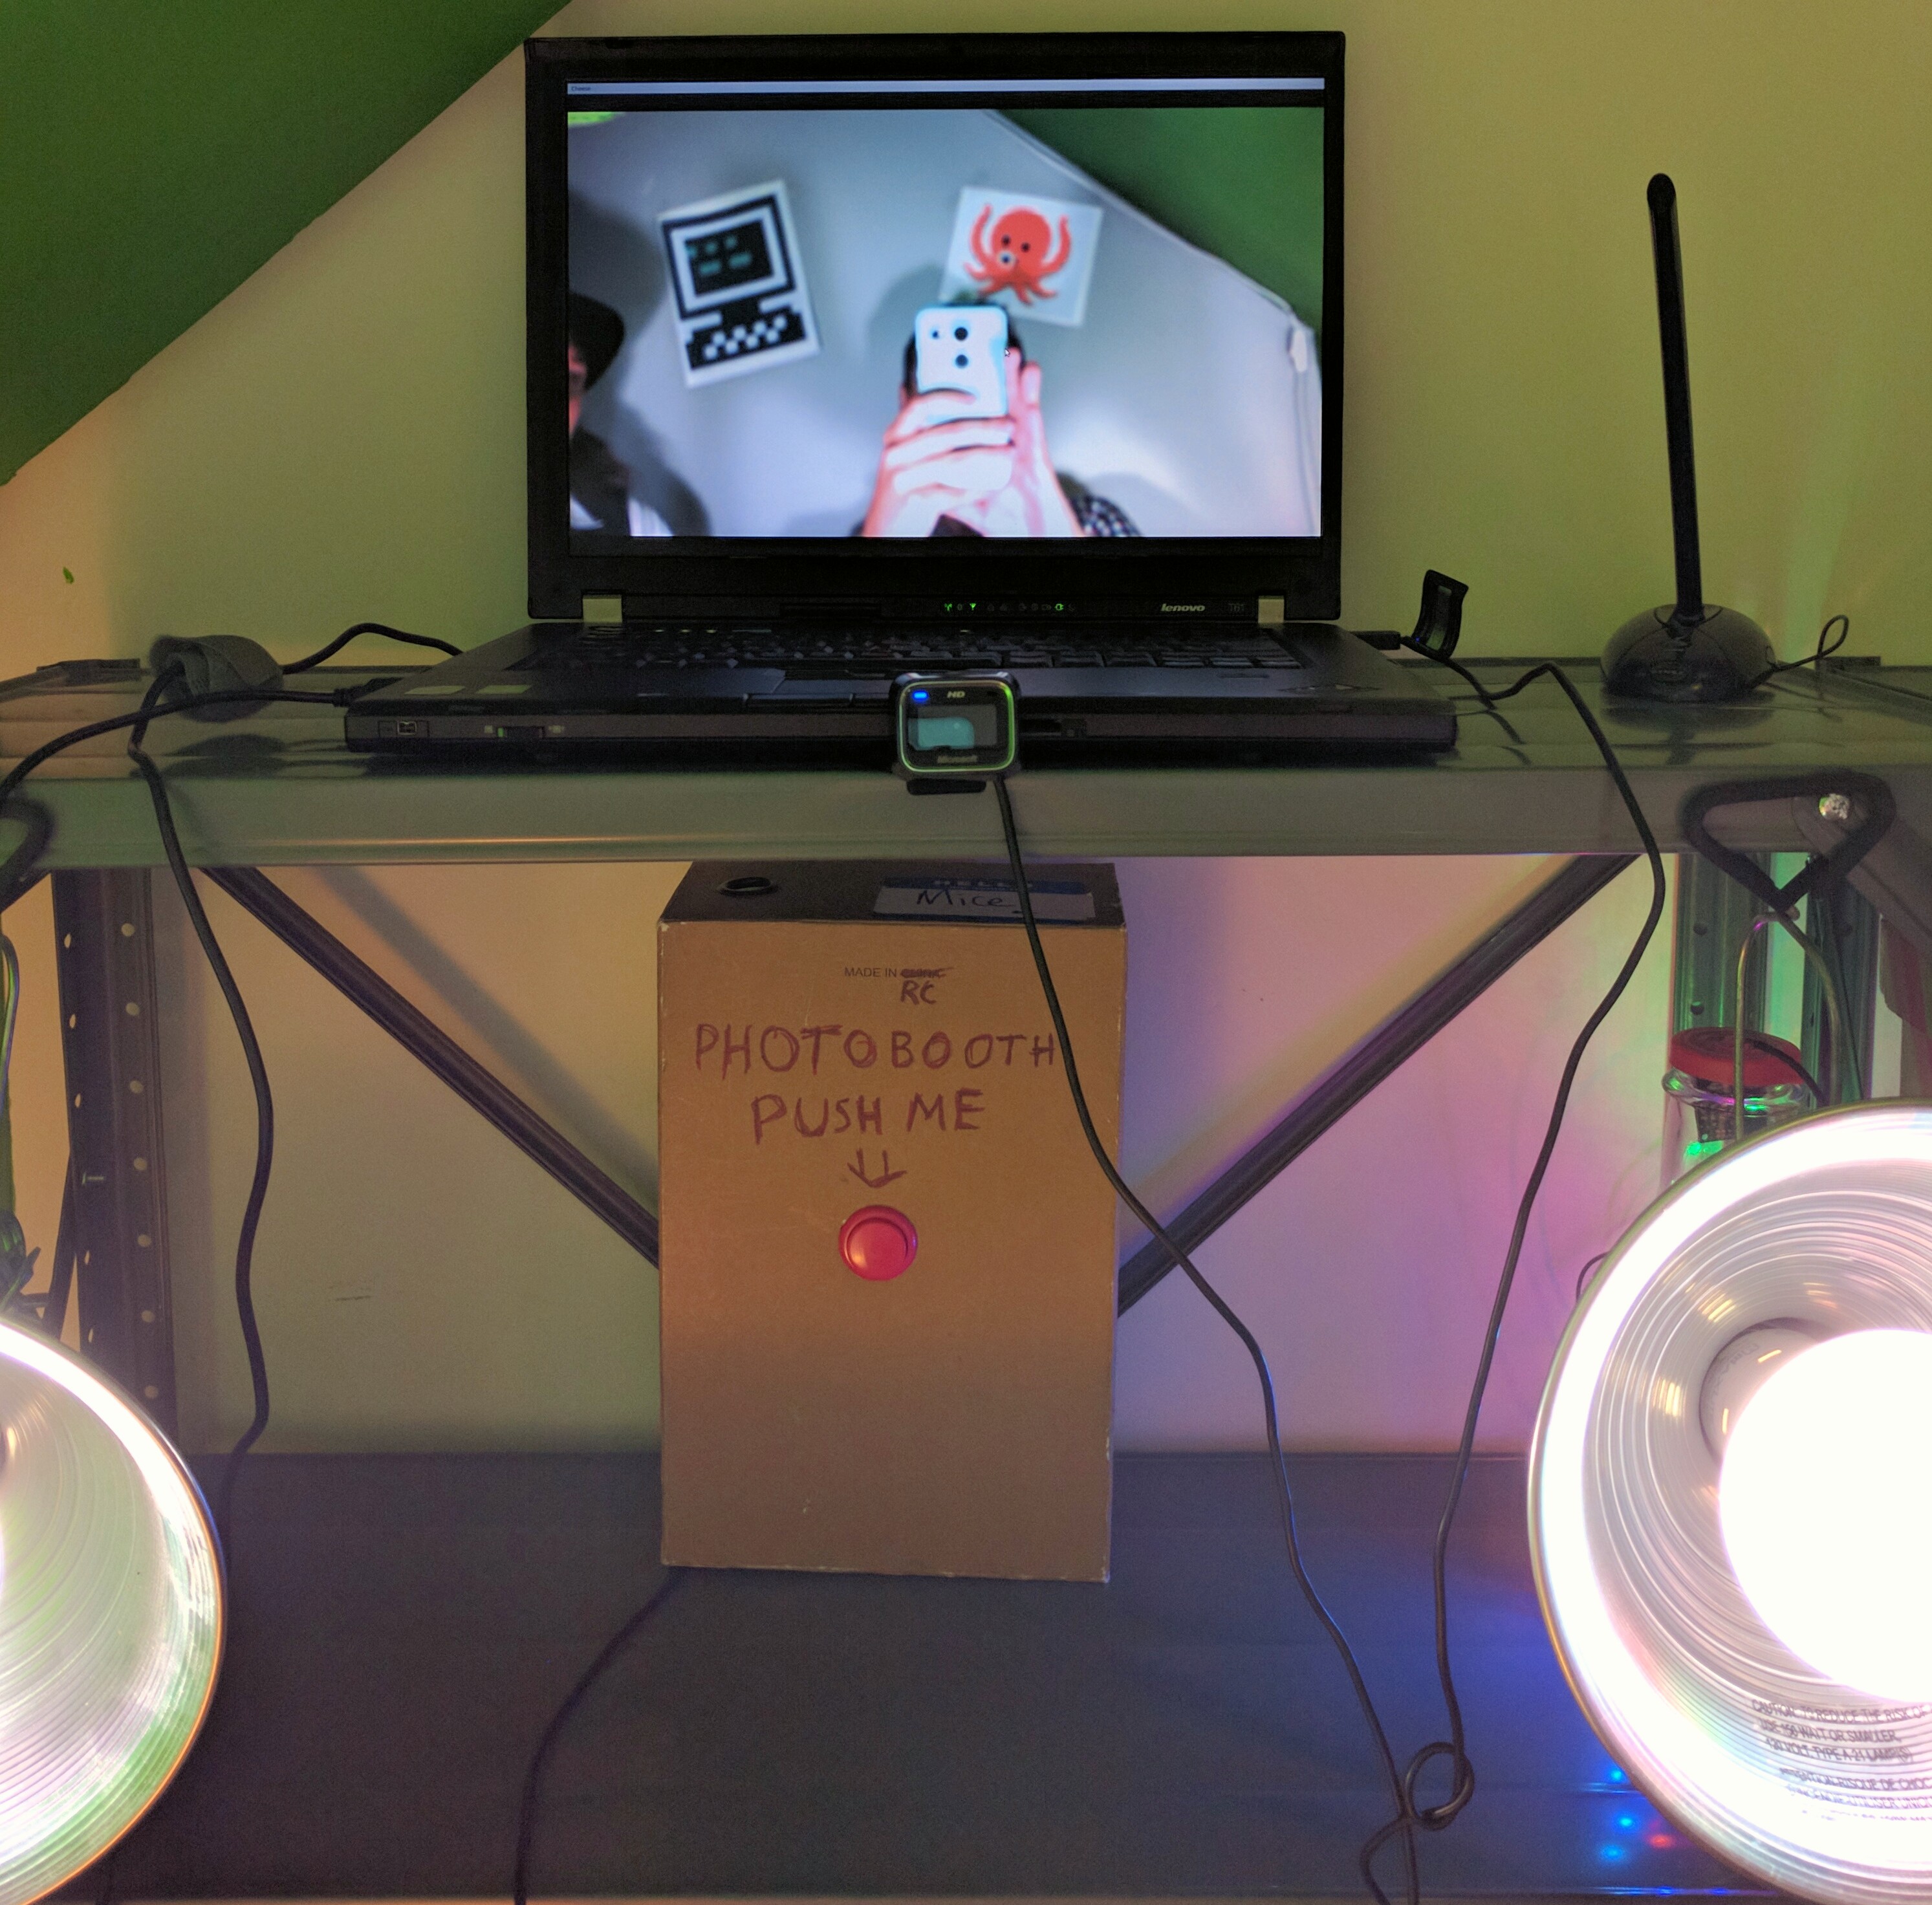
Time for the actual install! We save all environment variables we need for the zulip credentials and the settings to a bash script, then shut down the laptop (remember, no battery!) to install it in the cloakroom/photobooth chamber. We put the shoebox with the arcade button and the N64 controller on a shelf, then mount the HD webcam and the laptop above it. Plug everything together, set up the lighting, add some props, and voila! We're ready to take some pics, just in time for the party to start!